Photo Editing for Beginners: Where to Actually Start
A beginner-friendly starting point for photo editing, covering the most impactful basic adjustments before trying creative filters.
Photo editing can feel overwhelming with the sheer number of tools, sliders and filters available — but a small set of fundamentals covers most of the improvement most casual photos actually need, before ever reaching for a creative filter or effect.
Start with exposure and brightness
A photo that's too dark or too bright loses detail in shadows or highlights — adjusting overall brightness is usually the single most impactful basic edit, often making more visible difference than any other single adjustment.
Contrast: making an image feel less flat
Contrast adjustments control the difference between an image's lightest and darkest areas — a slight contrast boost often makes a flat-looking photo feel noticeably more vivid and defined, without needing more complex editing.
Straightening and cropping
A slightly tilted photo, or one with distracting elements at the edges, benefits enormously from a simple straighten-and-crop pass (see our related cropping article) before any other editing — this alone often improves a photo's overall impression more than colour adjustments would.
Colour and saturation, applied carefully
Boosting saturation (colour intensity) can make a photo feel more vibrant, but overdoing it produces an unnatural, oversaturated look — small, careful adjustments generally read better than dramatic ones.
When to apply a creative filter or effect
Once the fundamentals — exposure, contrast, straightening, colour — are reasonably solid, that's the right point to consider a creative effect like a sketch filter, black-and-white conversion, or other stylistic treatment. Applying a creative filter to an otherwise poorly exposed or crooked photo tends to just carry those underlying issues into the final stylised result.
A simple beginner editing order
- Straighten and crop.
- Adjust exposure/brightness.
- Adjust contrast.
- Fine-tune colour/saturation if needed.
- Apply a creative filter or effect, if desired.
Why this order matters
Working through fundamentals before creative effects means any filter you apply afterward starts from the best possible version of the photo, rather than trying to mask underlying issues with a stylistic treatment — generally producing a noticeably better final result either way.
Apply creative sketch effects as the final step in your editing process — Color Photo Sketch →
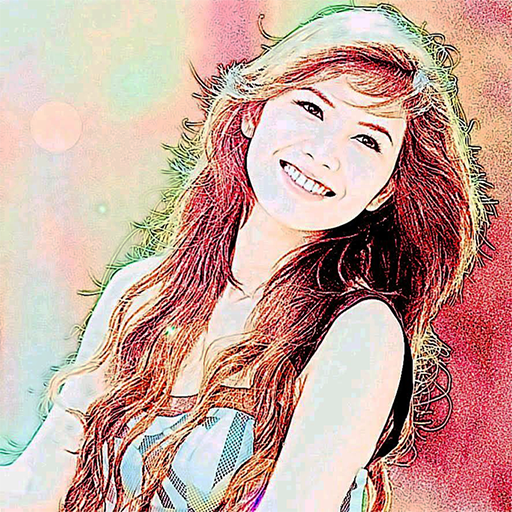
Color Photo Sketch
Turn your photos into sketch and art-style effects in one tap
More about Color Photo Sketch
What Makes a Good Photo for a Sketch Effect?
Practical tips for choosing or taking photos that produce the best results with sketch and artistic photo effects.
Read article →Black-and-White vs Colour Photo Effects: When to Use Each
Practical guidance on when a black-and-white treatment works better than colour effects for a photo, and why.
Read article →Combining Sketch Effects With Other Photo Edits
How to combine sketch effects with other photo editing steps for a more polished, intentional final result.
Read article →Creative Ways to Use Sketch-Effect Photos
Practical and creative ideas for using sketch-effect photos beyond just posting them directly to social media.
Read article →