Combining Sketch Effects With Other Photo Edits
How to combine sketch effects with other photo editing steps for a more polished, intentional final result.
A sketch effect applied on its own to an unedited photo works fine, but combining it thoughtfully with a few other basic edits, in the right order, produces a noticeably more polished final result.
Edit fundamentals first, apply the effect last
As covered in our beginner editing article, working through basic adjustments — exposure, contrast, straightening, cropping — before applying a creative effect like a sketch filter means the effect is built on the best possible version of the photo, rather than inheriting problems from an unedited original.
Adjusting the effect's intensity
Many sketch effects allow some control over intensity or line strength — a lighter touch often looks more refined and true to a subtle hand-drawn feel, while a stronger effect creates a bolder, more dramatic transformation. Trying a couple of intensity levels on the same photo, rather than defaulting to whatever setting is first offered, often reveals a better fit for that specific image.
Pairing sketch effects with framing or borders
A simple border or frame around a sketch-effect image can enhance the sense that it's a piece of standalone art, rather than an edited photo — particularly effective for images intended to be printed or shared as a distinct creative piece rather than a casual snapshot.
Combining with text for cards or gifts
Adding a short caption, date, or name to a sketch-effect image — for a greeting card, a gift, or an invitation (see our creative uses article) — turns a standalone image into a more complete, finished piece suited to its specific purpose.
Layering multiple photos into one composition
For a more elaborate project, combining several sketch-effect images into a single composed layout — a grid of pet photos, a family collage — using a separate collage or layout tool afterward can produce a genuinely gallery-worthy finished piece from otherwise ordinary photos.
A sensible order for a polished result
- Basic photo edits (exposure, contrast, crop).
- Apply and fine-tune the sketch effect intensity.
- Add any borders, text or framing.
- Combine into a larger layout, if applicable.
Why this thoughtful approach matters
A sketch effect applied as the very first and only edit is fine for quick, casual sharing — but for anything meant to be printed, gifted, or kept, a bit of additional intentional editing around the effect elevates the result meaningfully beyond a single default filter application.
Start your edit and finish with a sketch effect using Color Photo Sketch →
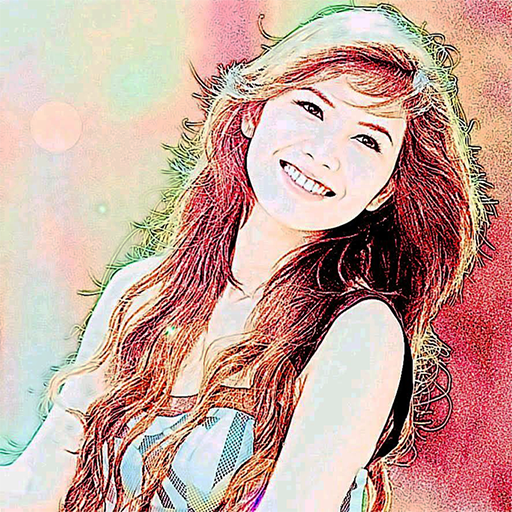
Color Photo Sketch
Turn your photos into sketch and art-style effects in one tap
More about Color Photo Sketch
What Makes a Good Photo for a Sketch Effect?
Practical tips for choosing or taking photos that produce the best results with sketch and artistic photo effects.
Read article →Black-and-White vs Colour Photo Effects: When to Use Each
Practical guidance on when a black-and-white treatment works better than colour effects for a photo, and why.
Read article →Creative Ways to Use Sketch-Effect Photos
Practical and creative ideas for using sketch-effect photos beyond just posting them directly to social media.
Read article →A Short History of Sketch and Line Art Styles
A look at the history and variety of traditional sketch art styles that digital sketch filters draw inspiration from.
Read article →